[Docker] Camera Emulator with FFmpeg Using Docker
In the realm of multimedia, there’s often a need to create and manipulate video streams. Whether it’s for testing, development, or other purposes, there are situations where simulating a fake camera source becomes essential. This is where FFmpeg, a robust multimedia framework, shines. In this article, we’ll delve into the process of generating a fake camera source using FFmpeg and packaging it into a Docker container for easy deployment.
1. Prerequisites
Before we dive into the details, ensure that you have the following tools installed on your system:
Docker: If you don’t have Docker installed, you can download and install it from Docker’s official website.
2. Dockerfile
1
2
3
4
5
6
7
8
9
FROM aler9/rtsp-simple-server AS rtsp
FROM alpine:3.18

RUN apk add --no-cache bash
RUN apk add --no-cache ffmpeg

WORKDIR /

COPY --from=rtsp /mediamtx /
3. docker-compose.yml
1
2
3
4
5
6
7
8
9
10
11
12
13
14
15
16
services:
  camera-emulator:
    build:
      context: ./emulator
      dockerfile: Dockerfile
    container_name: camera-emulator
    hostname: camera-emulator
    ports:
      - 8554:8554
    tty: true
    volumes:
      - ./rtsp-simple-server.yml:/rtsp-simple-server.yml
      - ./videos:/var/videos
    command: bash -c "/mediamtx & ffmpeg \
          -re -stream_loop -1 -i /var/videos/follower.mp4 \
          -map 0:v -c:v copy -f rtsp -rtsp_transport tcp rtsp://localhost:8554/camera"
4. Explanation
I will explain the command that is running in the camera emulator container.
1
2
3
/mediamtx &
ffmpeg -re -stream_loop -1 -i /var/videos/follower.mp4 \
-map 0:v -c:v copy -f rtsp -rtsp_transport tcp rtsp://localhost:8554/camera
The container run command initiates the “mediamtx” application as a background process:
1
/mediamtx &
The application will start as a background process. The use of the
&character at the end of the command allows the script to continue executing other commands without waiting for the “mediamtx” application to finish.The container run command utilizes
ffmpegfor RTSP streaming:1
ffmpeg -re -stream_loop -1 -i /var/test/follower.mp4 -map 0:v -c:v copy -f rtsp -rtsp_transport tcp rtsp://localhost:8554/camera
ffmpeg: This command runs theffmpegapplication, which is widely used for video and audio processing.-re: Reads the input at the original frame rate, maintaining the speed.-stream_loop -1: Loops the input video indefinitely.-i /var/test/follower.mp4: Specifies the input video file “follower.mp4,” located at the path “/var/test/”.-map 0:v: Selects the video stream from the input.-c:v copy: Copies the video stream without altering the codec.-f rtsp: Sets the output format as RTSP.-rtsp_transport tcp: Uses the TCP transport protocol for RTSP.rtsp://localhost:8554/camera: Specifies the URL of the RTSP server, naming the stream as “camera.”
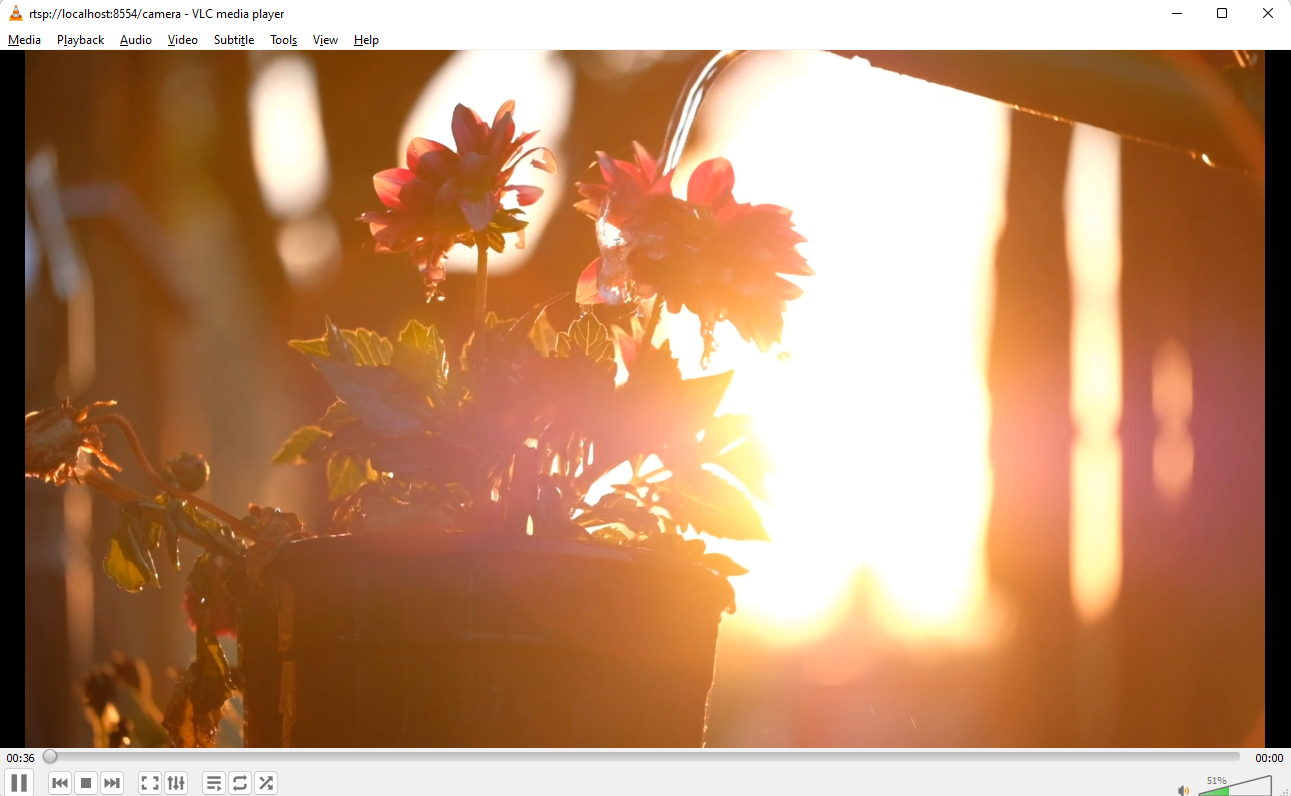
5. Testing the camera emulator
To verify that your camera emulator is working, open an application that uses your camera (e.g., a video conferencing app). You should see the color test pattern as the camera input. In the image below, I use the VLC application to test the camera emulator.
6. Conclusion
In this article, we’ve explored how to create a camera emulator source using FFmpeg and package it into a Docker container. This is particularly useful for testing and development when you need to simulate a camera feed without access to a physical camera. By following these steps, you can easily set up a camera emulator source for your multimedia projects.